Edit and Delete
To edit or delete files, select the three dots on the right-hand side of the item you wish to work with. This opens a panel that allows you to edit:
- Display name. Select the display name at the top of the panel to edit the name that appears on the Course Content page for your item.
- Add a description to appear beneath the display name on the Course Content page.
- You can edit students' ability to download or view the file.
If you delete a folder or learning module that has content, the content is also removed from the Course Content page. You can hide content from students to preserve the information without removing it from the course.
Reorder content
- Select the row of the item you wish to move and drag it to a new location.
- Move content into a folder by expanding the folder and drag the item to the area below the folder's title.
- Ultra supports up to three levels of hierarchy for content nesting on the Course Content page.
Set Date Release on Weekly Folders
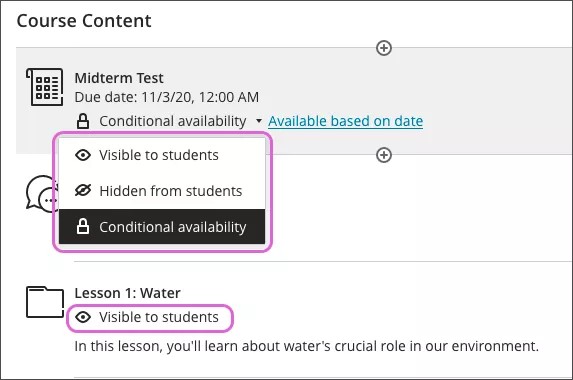
Select Hidden from students drop down under the folder title. Select Release Conditions to set Date/Time to the day before the semester begins and set the time for 11:59 PM est.